Getting started with your first computer
A computer is more than just another household appliance. The vast amount of information and possibilities can be overwhelming. But you can accomplish a lot with a computer, and using one can be a good experience. Let's walk through getting started with your first computer.
Turning on a computer for the first time can be different from one computer to the next. Your experience could be different from this lesson. It's OK to ask someone for help.
Turning on a computer
The very first step is to turn on the computer. Make sure all the cables are plugged in correctly, and locate the power button. It's in a different place on every computer, but it will have the universal power button symbol (shown below).

Once turned on, your computer takes time before it's ready to use. You may see a few different displays flash on the screen. This process is called booting up, and it can take anywhere from 15 seconds to several minutes.
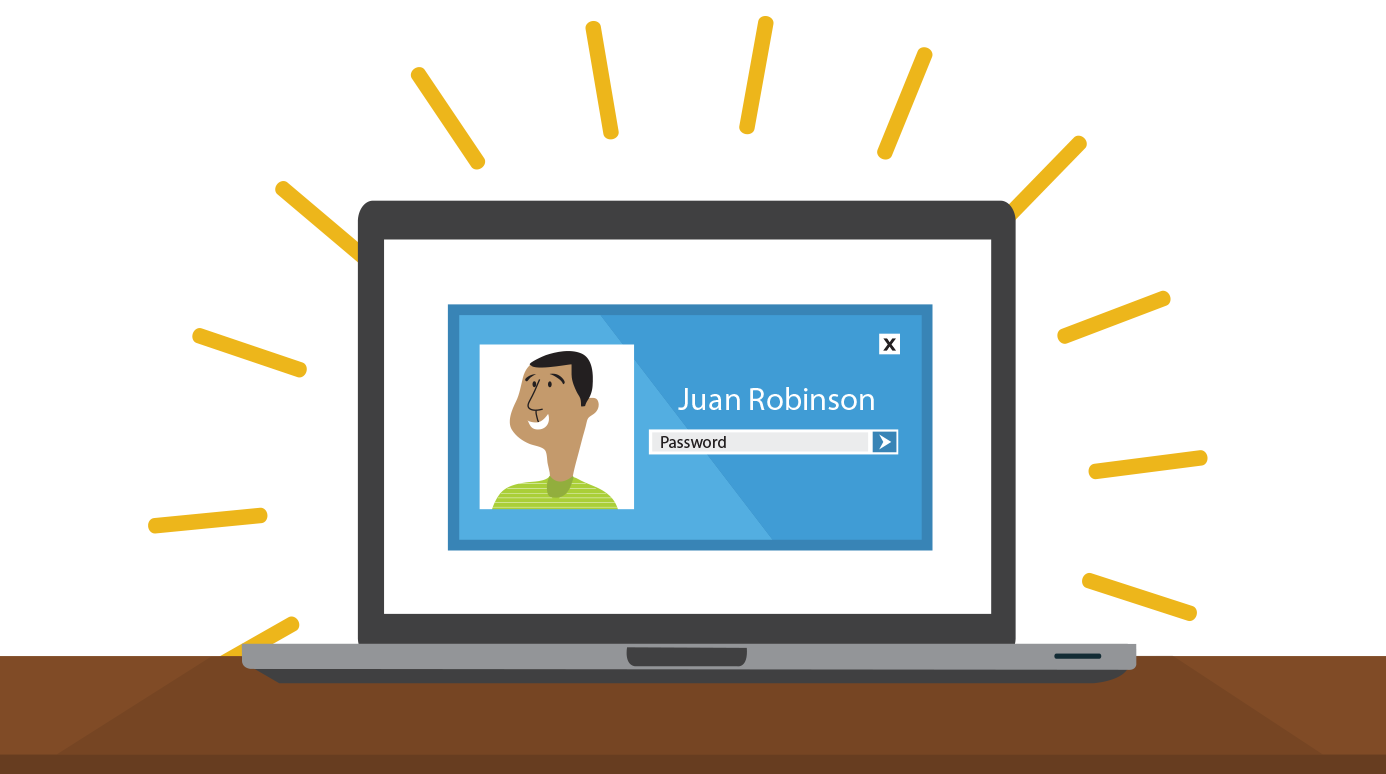
Once the computer has booted up, it may be ready to use, or it may require you to log in. This means identifying yourself by typing your user name or selecting your profile, then typing your password. If you've never logged in to your computer before, you may need to create an account.
The keyboard and mouse
You interact with a computer mainly by using the keyboard and mouse, or a trackpad on laptops. Learning to use these devices is essential to learning to use a computer. Most people find it comfortable to place the keyboard on the desk directly in front of them and the mouse to one side of the keyboard.
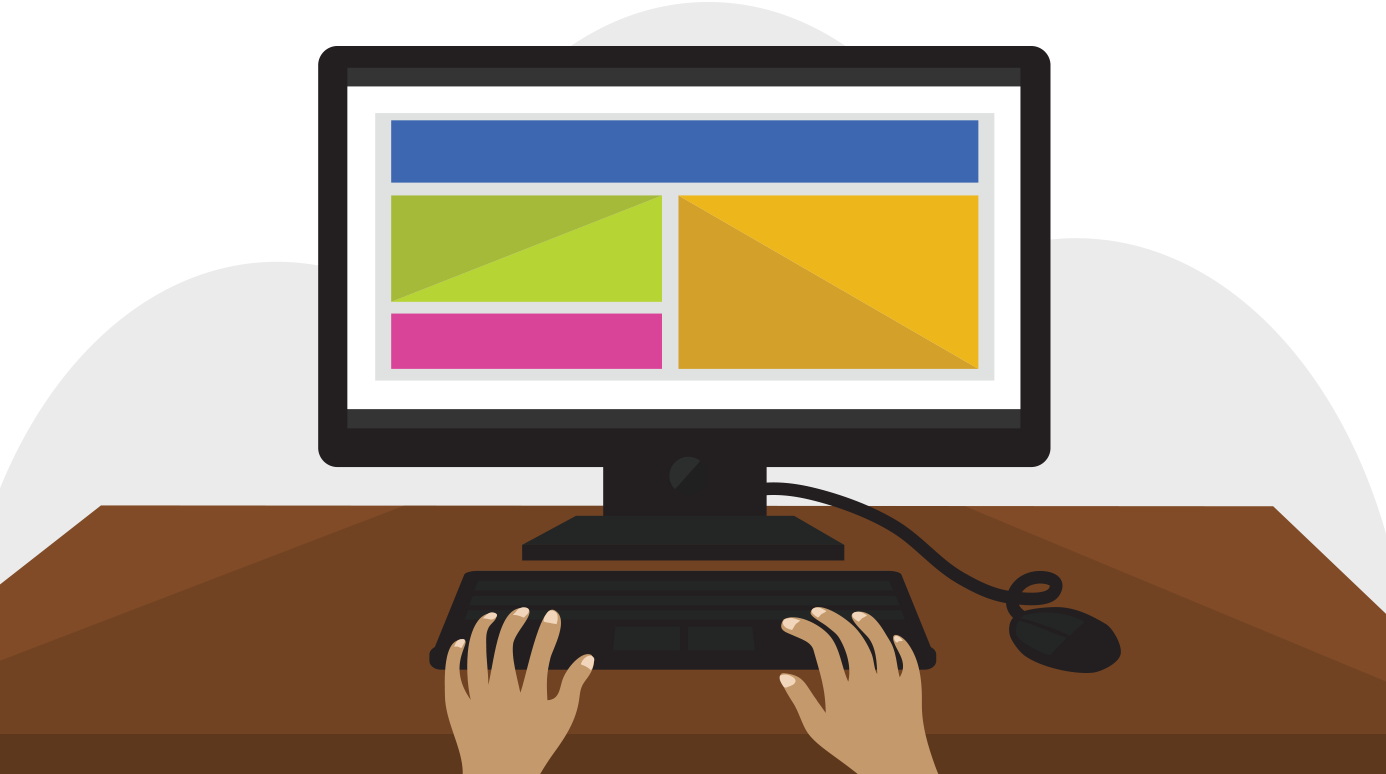
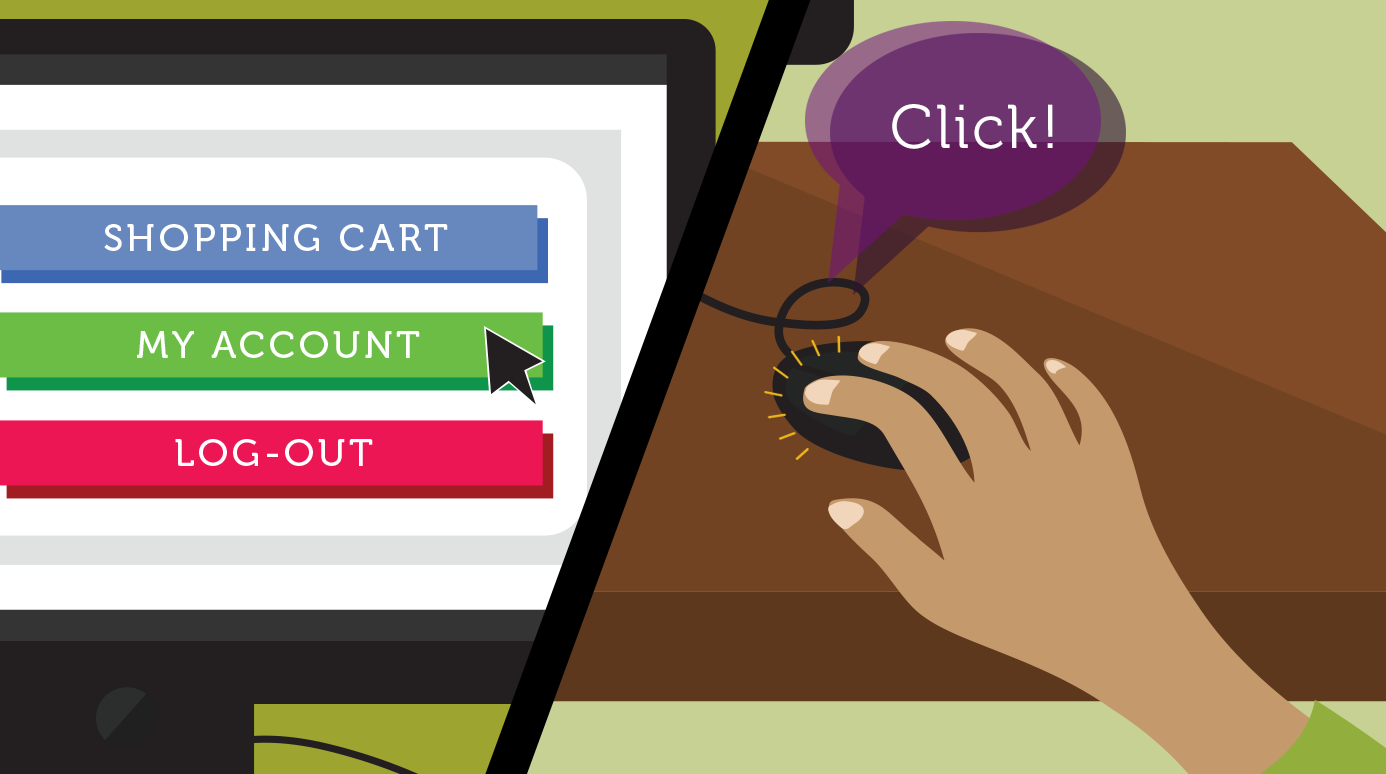
The mouse controls the pointer on the screen. Whenever you move the mouse across the desk, the pointer will move in a similar manner. A mouse usually has two buttons, which are referred to as the left button and the right button. You will often interact with the computer by moving the mouse pointer over something on the computer screen, then clicking one of the buttons.
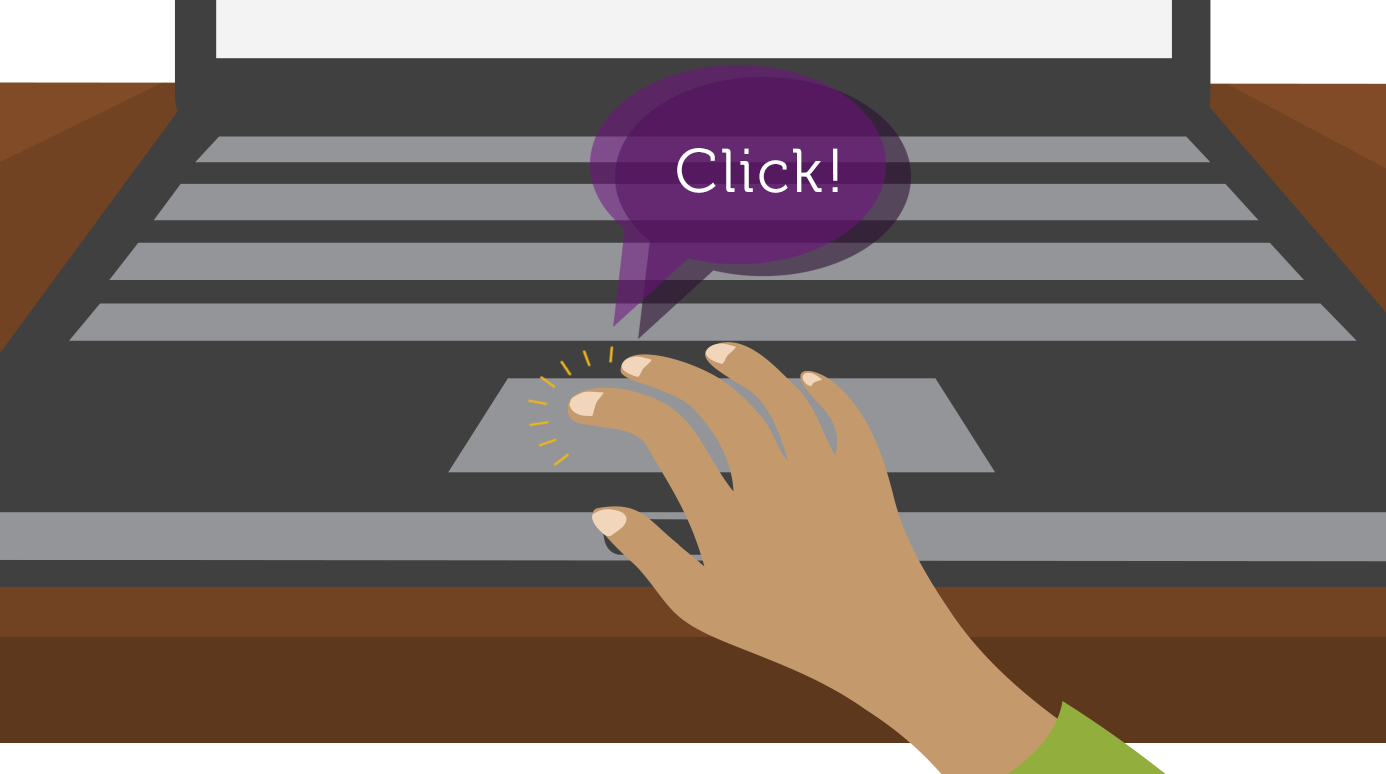
On laptops, you can use the trackpad, located below the keyboard, instead of a mouse. Simply drag your finger across the trackpad to move the pointer on the screen. Some trackpads do not have buttons, so you'll either press or tap the trackpad to click.
The keyboard allows you to type letters, numbers, and words into the computer. Whenever you see a flashing vertical line—called the cursor—you can start typing.

Note that the mouse pointer is also called a cursor, but it is shaped differently. The keyboard cursor is also called the insertion point.
Using a computer
The main screen you'll start from is the desktop. This is sort of like a main menu or a table of contents. From here, you can access the programs and features you need to use your computer.
Icons are used to represent the different files, applications, and commands on your computer. An icon is a small image that's intended to give you an idea at a glance of what it represents, like a logo. Double-clicking an icon on the desktop will open that application or file.
A button is a command that performs a specific function within an application. The most commonly used commands in a program will be represented by buttons.
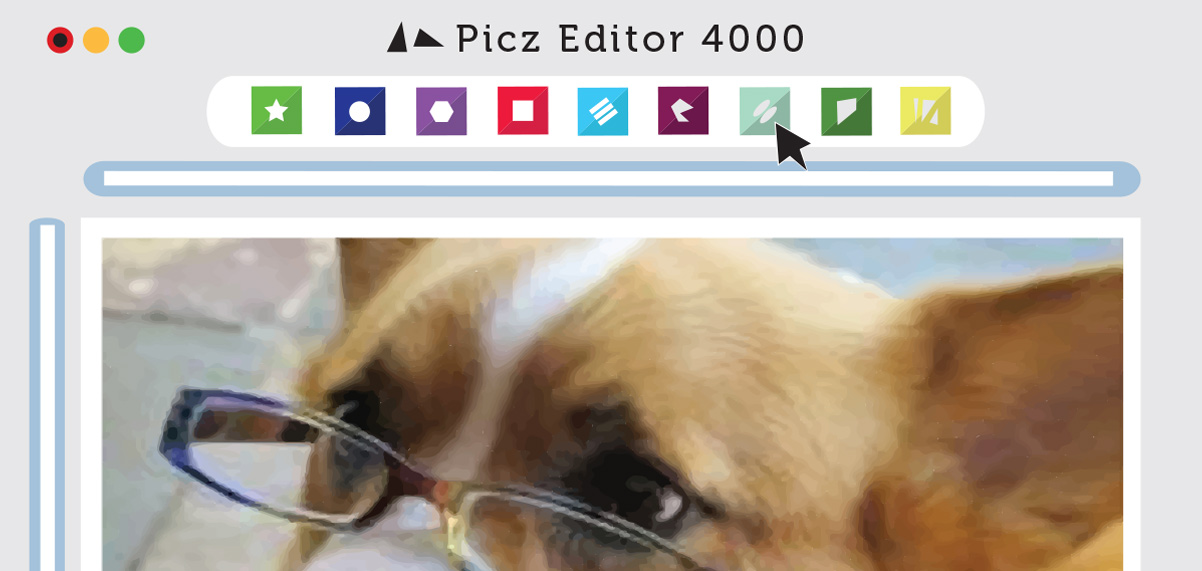
Menus are organized collections of commands and shortcuts. Click a menu to open it and display the commands and shortcuts within. Then click an item in the menu to execute it.
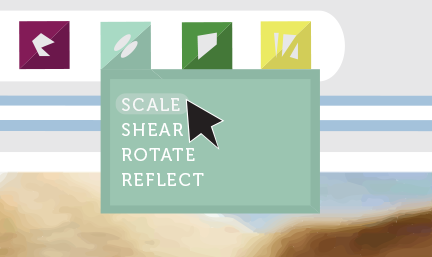
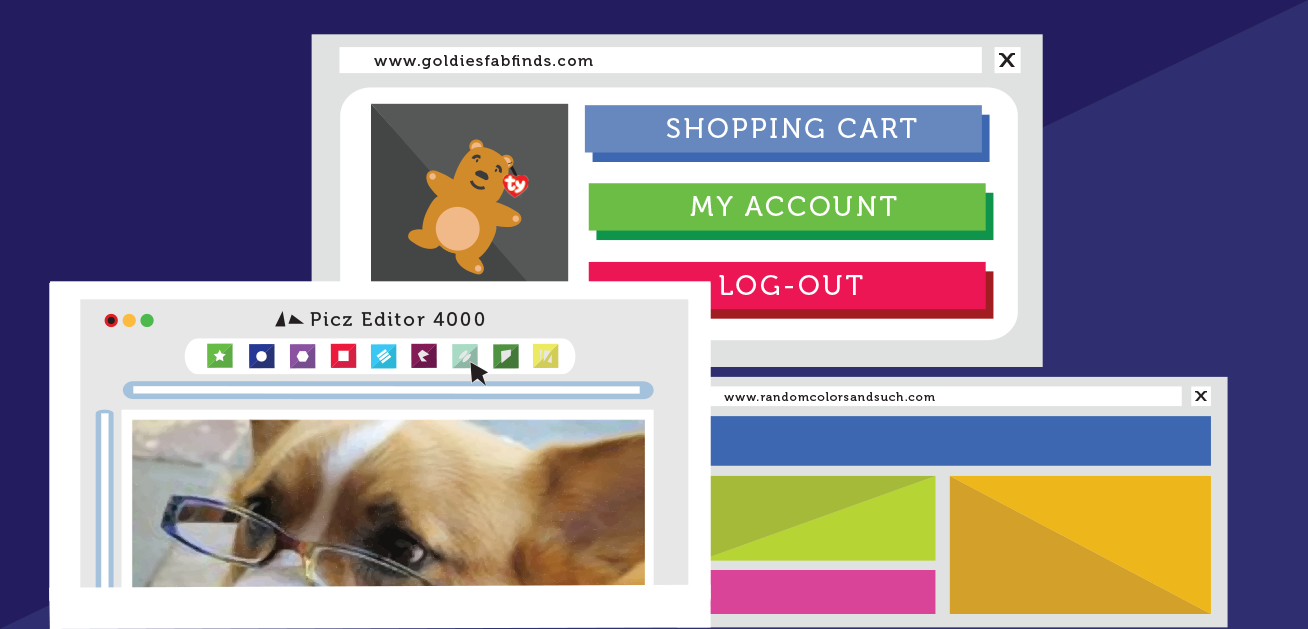
When you open an application or folder, it is displayed in its own window. A window is a contained area—like a picture within a picture—with its own menus and buttons specific to that program. You can rearrange multiple windows on the desktop and switch between them.
Additional resources
Now that you've learned how to turn on your computer and interact with it, take time to become familiar with these skills. When you're ready, check out our other topics to learn more. You can build on this foundation and learn how to do whatever you want with your computer.
Learn more about:
Other topics:
Other resources:
- BBC First Click Beginner's Guide
- Beginner's Computer Class from City of Fremont, Nebraska
Lesson 2: How to Use Your Computer's Built-in Help
How to use your computer's built-in help
Everyone needs to look for help sometimes. Luckily, when you want help with a computer program, it’s usually easy to find. Most programs have a help feature somewhere, and learning how to use it can make a big difference. You may not find everything you need, but your computer’s built-in help is a great place to start.
Different programs integrate help features in different ways. Some are like interactive manuals included with the program that you can open with a menu, while others are just links to the developer’s support website. But they’re always designed with the same thing in mind: to help you learn the features of the program and to solve problems yourself.
How to access built-in help
Most programs have one of two ways to access built-in help. For example, Adobe Photoshop Elements has a Help menu with a variety of options. Many of these options open Adobe’s support page in your web browser, while others access features within the program itself.

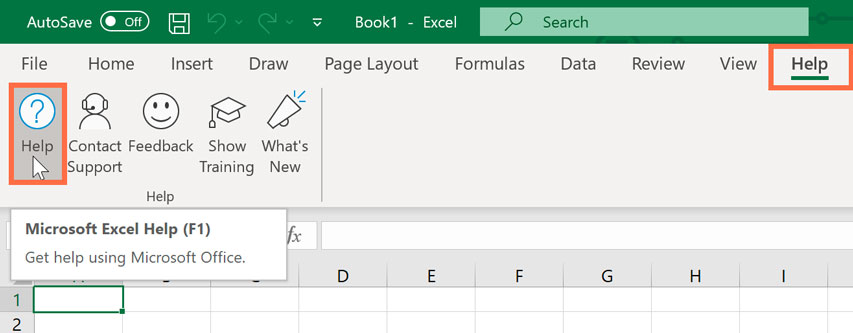
Other programs have a help button. For example, Microsoft Office 2016 has the Help tab with a Help button to open a search.
Features of a help file
Help files can be organized in a variety of ways, including as a table of contents, FAQ, or searchable database.
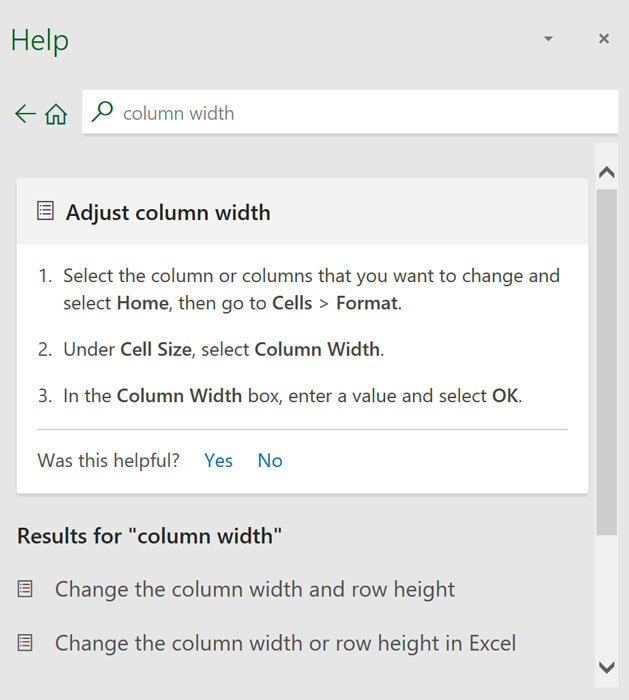
When you open the help panel in Office 2016, you'll see a search box. Much like a search engine, you type keywords in the search bar, and it will display topics relevant to the keywords you entered.
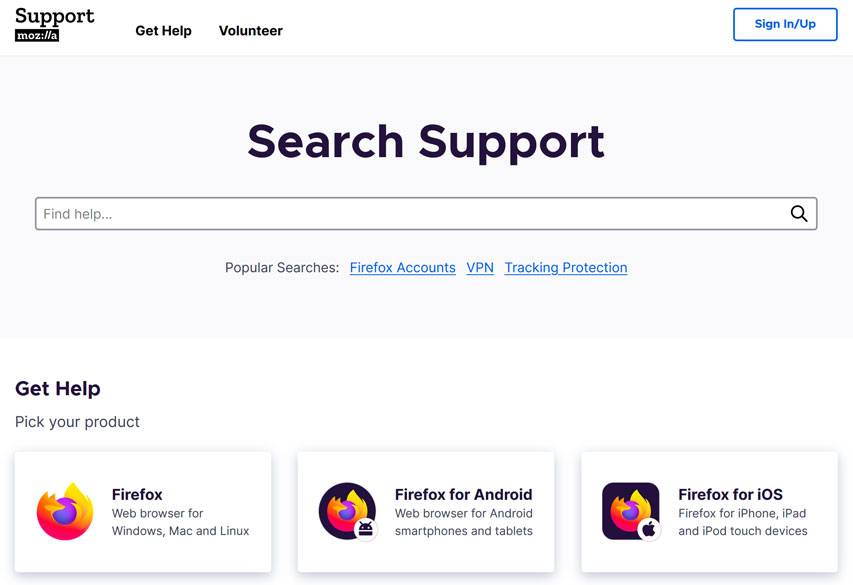
The table of contents for Mozilla’s support page is a broad list of categories. Clicking any of these hyperlinks will lead to a list of narrower topics and specific help articles. There’s also a search bar to help you.
Although built-in help can be useful, it may not always have the information you want. If you can’t find what you’re looking for or don’t understand what you've found, you can usually ask someone you know, do a Google search, or contact support staff. It can take a little extra time and effort, but learning how to find solutions on your own is a valuable skill—and you’ll get better at it with practice.
Lesson 3: Undo Your Mistakes
Undo your mistakes
Have you ever made a big mistake while doing work on a computer and wished it hadn’t happened? Don’t worry, there’s a feature that can help.
Most programs have an Undo command that reverts back to the last change you made to your current project. If your last change was adding or pasting text into a document, Undo will delete it. If your last change was deleting something, Undo will restore it. This can come in handy when you accidentally overwrite a big chunk of a document, and just knowing this feature is available can be a big relief.
The Undo function is most commonly found in the Edit menu.

Many programs have an Undo button on the toolbar that usually resembles a curved arrow pointing left, like this one in Google Docs.

Ctrl+Z (or Command+Z on a Mac) is a common keyboard shortcut for Undo.
Usually, programs with the Undo function keep track of not just your most recent change but an entire series of your most recent changes. For example, if you paste a picture in a document and type a caption under it, using Undo once will remove the caption you typed, while using Undo a second time will remove the picture you pasted. Keep in mind that these programs only keep track of your previous changes for as long as the program is open. If you close the file and open it again, you won’t be able to undo previous changes.
Many programs also have a Redo function, which will undo your last undo. If you use Undo but then realize you didn’t want to Undo your most recent change, Redo will restore it.
Many types of programs use Undo functions, including word processors, image editors, email clients, and some file-management programs. It’s an almost universal feature in computer software. Once you become used to how Undo works, you won’t need to worry about losing work due to simple mistakes.
Lesson 4: Understanding File Extensions
Understanding file extensions
Your computer has many different types of files on it, and each one has its own file extension. A file extension is a three- or four-letter identifier found at the end of a file name and following a period. These extensions tell you about the characteristics of a file and its use. In this lesson, we'll go over some examples of these extensions, as well as how to determine a particular file's extension.
Examples of file extensions
- A JPEG uses the .jpg or .jpeg extension (for example, image.jpg).
- A Word document uses the .docx extension, or .doc for older versions (for example, CoverLetter.docx).
- An MP3 audio file uses the .mp3 extension (for example, rhyme_rap.mp3).
- An Excel spreadsheet uses the .xlsx extension, or .xls for older versions (for example, budget.xls).
Hidden file extensions
Some operating systems hide file extensions by default to reduce clutter. It is possible to show the file extensions if they're hidden. Click the links below to see how to show file extensions in Windows and macOS:
You can also usually tell what the file type is by looking at the file's icon. For example, the Word document looks like a file with a W in the corner, while an Excel spreadsheet looks like a file with an X in the corner.
File extensions also tell your computer which applications to use when opening that file. Sometime you may want to use a different application to open that file.
Lesson 5: Downloading and Uploading
Downloading and uploading
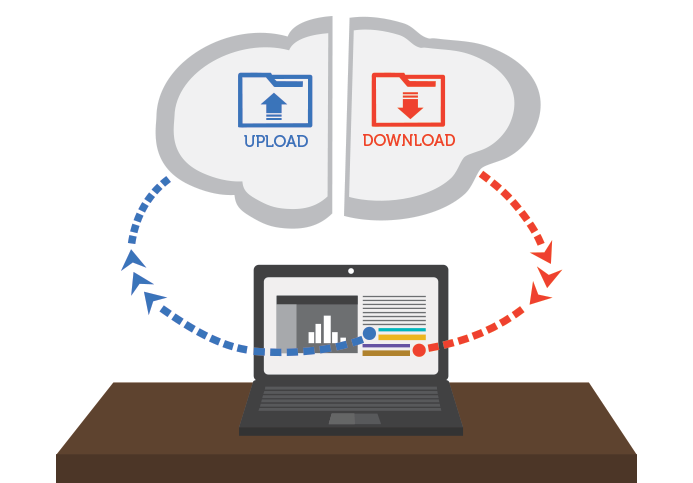
While exploring the Internet, you’ve probably encountered the terms downloading and uploading. Downloading means receiving data or a file from the Internet on your computer. Uploading means sending data or a file from your computer to somewhere on the Internet.
These terms describe activities you may have already learned how to do. If you've ever opened an example document in one of our tutorials, you've downloaded that file. If you’ve ever shared a photo you took on Facebook or another social media site, you've uploaded that photo.
Downloading
Usually, when you download a file you will start the download by clicking a link to that file. Many of our tutorials contain links to files, like this:
Download our practice document.
If you click the link, your browser should prompt you to select one of two methods for downloading the file.
- Open with will download the file and load it immediately in the specified program.
- Save File will download it and save it to your hard drive.
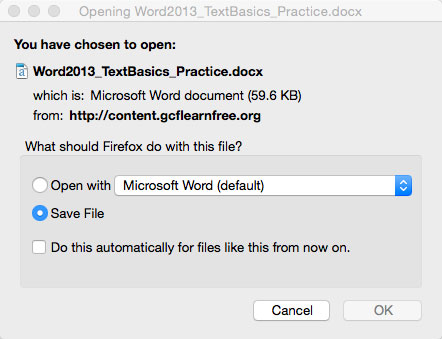
Either way, once you click OK, the download begins. Your browser will indicate the progress and time remaining on the download.

Once the download is complete, either the file will be saved to your computer or it will open in the program you selected. If you have trouble finding the file after you’ve downloaded it, check out our Finding Your Downloads lesson.
Some browsers don’t always start this download process when you click the link to a file. In these cases, you can right-click the link, then click Save Link As, then select a location to download the file.
Uploading
If a site allows uploads, it will have an upload utility to help perform the file transfer. Each site handles this process differently, but we’ll give some common examples. Usually, the site will have help pages to walk you through the upload process.
Many sites have an upload button that opens a dialog box. For example, Facebook has a camera icon that begins the upload process.

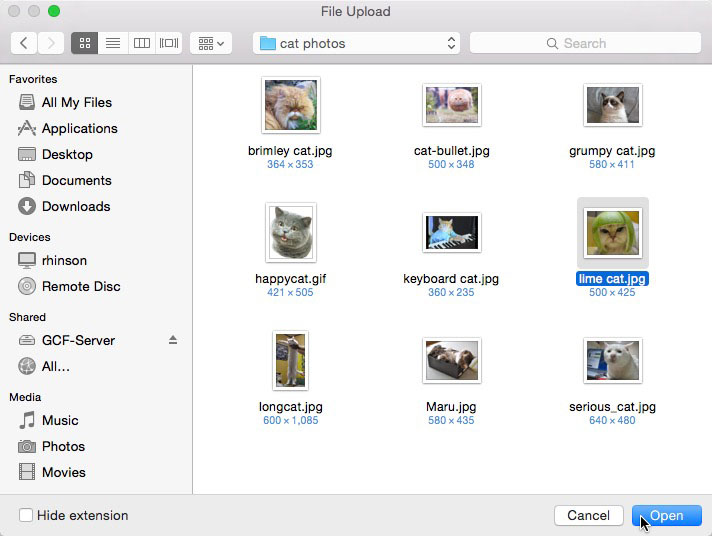
A dialog box will appear, prompting you to select a file. Browse to the location where your file is stored, select it, then click the Open button. Afterward, a progress bar tracking the upload process will appear on the page.
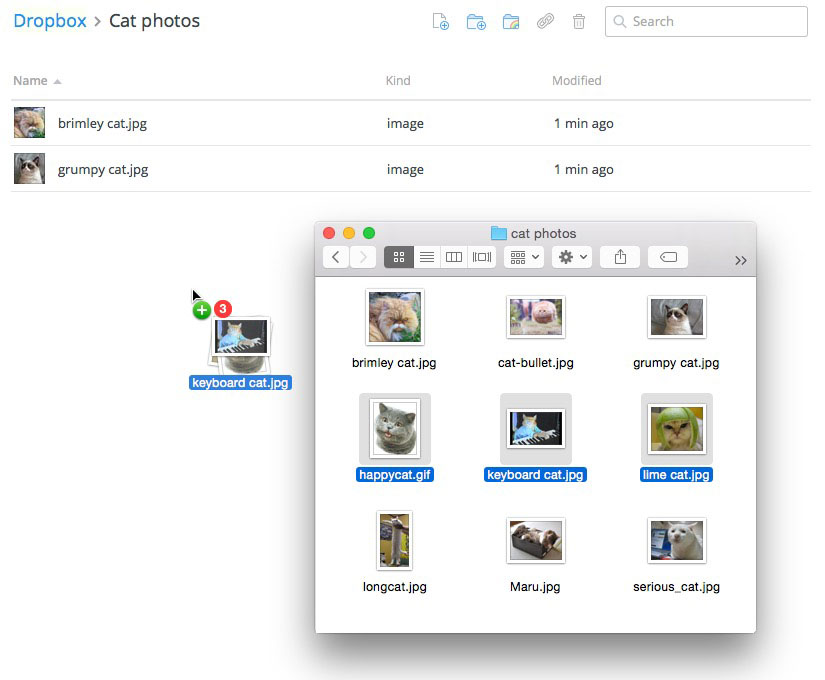
Some sites support a drag-and-drop interface. For example, when logged in to Dropbox you can drag the files from a folder on your computer and drop them into the browser window.
Many other upload utilities have similar features. A more detailed example of uploading a file is available in our Google Drive tutorial.
Lesson 6: Free Software
Free software
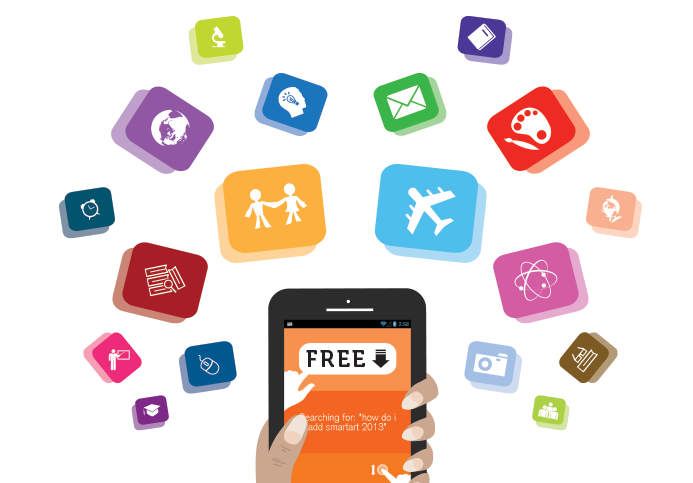
There are free programs available for almost any purpose you can imagine. If you're looking for free software for a specific task or want to find a free alternative to an expensive commercial program, it's probably somewhere on the Internet. Often, the most difficult part is finding the safest, most reliable free programs among the thousands of other free programs.
Usually, the best way to find free software for Windows is to do an Internet search. On Android and iOS devices, the best way to find free software is to search in the Play Store or App Store for apps that are listed as free. For Mac OS, both the App Store and Internet searches are effective methods for finding free software.
When there is no fee to use software, it is sometimes called software gratis or freeware.
Safely searching for free software
When searching for free software, distinguishing good software from bad or dangerous software is crucial. These steps will help you find a program that is safe, reliable, and performs the functions you need.
- Identify your needs and the tasks you are trying to accomplish. Do you need a simple tool or something very powerful? Are you trying to perform a specialized task, or are you looking for something generally useful? Are you just looking to save money?
- Search for information on a program before downloading it. Determine if the publisher is reliable and well-liked, and if the program is safe and stable and has the features you want.
- Read reviews on neutral third-party sites; a publisher may remove negative reviews from its own site.
- Don't click misleading advertisements designed to look like download links or error messages. Carefully examine download links before clicking, or install an adblocker.
- Avoid malware included in installers. If an installer has options for custom search bars or other programs that seem unrelated, tell it not to install these.
- Download directly from the developer's website rather than from a third-party site. Many—but not all—third-party file hosting sites include malware with their installers.
- Scan for viruses and malware immediately after installing a new program. It's better to avoid installing malware, but scans will probably catch anything you missed.
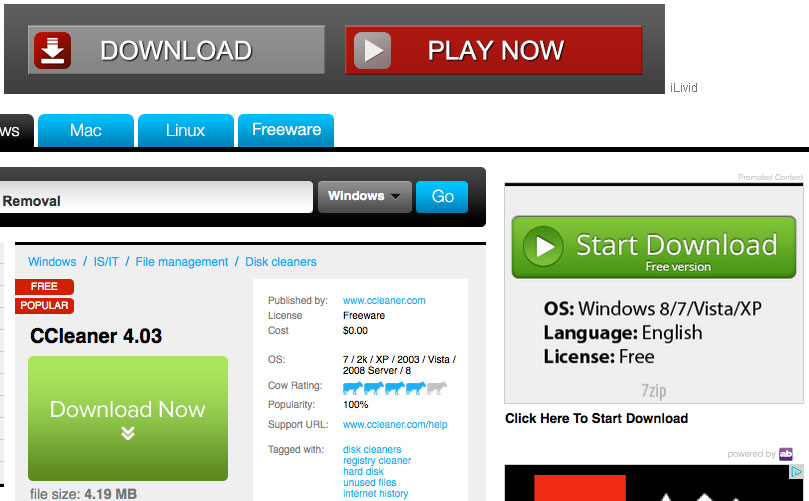
In the image above, the download button at the bottom-left is the real download link, while the other two are misleading ads.
Keep in mind that these safety tips are good practices whether you're downloading free software or paying for software. There's nothing stopping a distributor from bundling malware with a program and still charging you a fee for it, and plenty of commercial software is unstable or ineffective. Be aware at all times of common unscrupulous practices so you can avoid them and choose the best software for your needs.
Examples of free software
One of the biggest advantages of free software is determining your specific needs and searching for the program that's right for you, but sometimes it's helpful to see what software other people are using. Here's a list of some of our favorite free software for common tasks.
Security and system optimization
- CCleaner: Optimization and storage management
- Malwarebytes: Anti-malware software
Productivity
- LibreOffice: A full-featured office suLibreOfficeite
- Thunderbird: Email management software
- Keynote: Note-taking and organizational software
- Metapad: An advanced text editor
- Foxit Reader: A PDF viewer
- CutePDF: A PDF writer that works like a virtual printer
Media
- Paint.NET: A simple image editor
- GIMP: A complex and powerful image editor
- VLC media player: A cross-platform multimedia player
- K-Lite Codec Pack Standard: A multimedia player package
- Dropbox: Cloud storage, file synchronization, and file hosting
Why is some software free?
There are many reasons a developer may not be charging a fee for its software. In most cases, developers are still earning money through other means. Here are some of the common ways free software still makes money.
- Donations: The software is free, but users can donate money to support the developer.
- Advertisements: The developer is paid by other companies to place advertisements in the software or on its website.
- Data mining: The software collects information about users and sells this to advertisers or marketing researchers. This is often used in combination with advertisements.
- Bundling other software: Other software distributors pay the developer to bundle other programs with its software. This often includes malware.
- In-app purchases: The base software is free, but users can pay fees to unlock additional features.
- Premium products or subscriptions: The software itself is free, but the developer sells more advanced versions of the program or other programs.
Not all free software developers earn money from software. They may have full-time jobs and make software in their free time as a hobby, they may be working under a license that prohibits earning profit from the software, or they might just enjoy participating in free software communities on the Internet.
Some software is freely available because the developers adhere to certain social and ethical guidelines. This software is sometimes called software libre, although it's also sometimes called free software, using the definition of free that means liberty, not free of charge. You can read more about this type of free software at the Mozilla Foundation or the Free Software Foundation.
Support free software developers
After using free software for a while, if you are happy with the programs consider supporting their developers. Visit their websites, and look for ways you can help. They may have links for you to donate money, contribute your talents to their projects, or promote their software on social media. But remember, your support is a choice, not an obligation. Free software communities thrive on individual choice and mutual assistance.


0 Comments